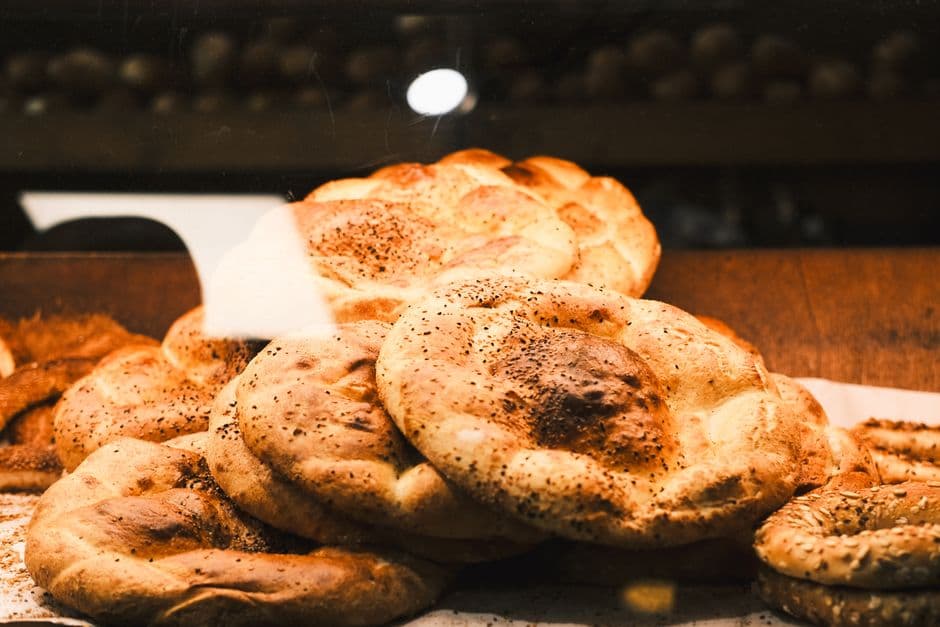
Pillowy, pocket-forming pita bread baked at high heat — each round inflates dramatically to create the characteristic hollow that makes pita perfect for stuffing.
Homemade pita bread is one of the most deeply satisfying breads to make — the moment a round of flat dough enters a very hot oven and inflates like a balloon into a perfect hollow pocket is one of baking's great spectacles. The science behind pita's pocket is precise: the dough must be rolled thin enough (about 3-5mm) that the exterior sets quickly in the hot oven while steam trapped inside expands rapidly, separating the layers before the exterior crust firms. This is why oven temperature is critical — 240-260°C (or the oven's absolute maximum) is needed. Lower temperatures produce flat, dense pita without a pocket. The dough formula for pita is similar to pizza: bread flour (high protein content for gluten structure), yeast, salt, olive oil, and water. A small amount of olive oil tenderizes the dough and prevents excessive chewiness. The dough needs a proper first rise (45-60 minutes) for the yeast to develop structure, then each ball is gently shaped — pulling rather than pressing, to preserve the gas bubbles — and rested briefly before rolling. Rolled pitas are baked on a preheated heavy baking tray or pizza stone for maximum bottom heat. Fresh pita, still warm and slightly puffed, eaten with hummus, grilled meats, or simply torn and eaten plain, is incomparably better than any commercial version.
Serves 8
Combine flour, yeast, sugar, and salt in a large bowl. Add warm water and olive oil. Mix until a rough dough forms, then knead on a lightly floured surface for 8-10 minutes until the dough is smooth, elastic, and slightly tacky — it should pass the windowpane test (stretch a small piece thin enough to be translucent without tearing).
A slightly wetter dough produces a more tender, fluffy pita — resist the temptation to add too much flour.
Place the dough in a lightly oiled bowl, cover with a damp cloth, and leave in a warm spot (25-28°C) for 45-60 minutes until doubled in size. The yeast activity during this rise is what creates the gas bubbles that inflate the pita pocket.
Preheat the oven to its absolute maximum temperature (240-260°C or as high as it goes) with a heavy baking tray or pizza stone placed on the middle rack. The baking surface must be very hot before the pitas go on — cold trays produce flat pita.
Punch down the risen dough and divide into 8 equal balls (about 100g each). On a lightly floured surface, flatten each ball gently with your palm and then roll out to a circle about 20cm in diameter and 3-4mm thick — consistently thin rolling is essential for pocket formation.
Roll each pita to even thickness — thicker spots won't separate and create a pocket; they'll remain solid.
Place rolled pitas on a lightly floured cloth or parchment and cover with another cloth. Rest for 10-15 minutes — this second rest allows the gluten to relax and the yeast to produce a little more gas, improving oven spring.
Working quickly, slide 2-3 pitas at a time onto the preheated baking tray or stone. Bake for 4-6 minutes — the pitas should puff dramatically, becoming completely round and hollow, and develop light golden spots. Don't open the oven during baking. Remove with tongs and stack wrapped in a clean cloth to keep soft.
Maximum oven temperature is non-negotiable for pocket formation — if your oven tops out at 220°C, preheat for 45 minutes with the tray inside.
A preheated pizza stone or cast-iron griddle placed in the oven gives the best results — the direct, immediate bottom heat triggers the pocket-forming mechanism.
Immediately stack baked pitas wrapped in a cloth — the steam trapped between them keeps them soft and pliable for hours.
Don't re-roll pitas that haven't risen — the gas has escaped. Shape new balls from the remaining dough.
Wholemeal pita: replace 150g of the bread flour with whole wheat flour — slightly denser but with more flavor.
Spiced pita: brush the rolled circles with olive oil and dust with za'atar before baking.
Mini pitas: make 16 small balls (50g each) and roll to 12cm diameter — perfect for mezze and dipping.
Fresh pita is best eaten within 4 hours of baking. Store at room temperature wrapped in a cloth for up to 1 day. Pitas freeze excellently — seal in a zip-lock bag and freeze for up to 2 months. Reheat from frozen wrapped in foil at 180°C for 8 minutes or briefly in a dry pan.
Pita-style flatbreads have been baked in the Levant, Anatolia, and Eastern Mediterranean for at least 4,000 years — unleavened versions predate wheat yeast fermentation. The characteristic pocket formed during high-heat baking has been exploited for at least 2,000 years as documented by archaeologists excavating Bronze Age sites in Israel and Jordan. The Turkish pide (a thicker, boat-shaped bread) shares the same lineage. The word pita itself is thought to derive from the Greek for 'fermented pastry.'
The three most common causes: the oven wasn't hot enough (must be absolute maximum), the pita was rolled too thick (needs to be 3-4mm), or the baking surface wasn't preheated properly. All three factors must be right simultaneously for the pocket to form.
Yes — cook in a dry, very hot cast-iron skillet for about 90 seconds per side. Stovetop pita will puff partially and develop charred spots, but won't form as clean a pocket as oven-baked pita. The flavor is excellent, especially with charred spots.
Let the pita cool for 2 minutes after baking — hot pita tears easily. Then use scissors or a serrated knife to cut off one end, then gently insert your fingers to open the pocket from the cut end.
Per serving (100g / 3.5 oz) · 8 servings total
Ask our AI cooking assistant anything about this recipe — substitutions, techniques, scaling.
Chat with AI Chef →This recipe is featured in the following curated guides:
Join the conversation
Sign in to leave a comment and save your favourite recipes
Have feedback or need help?
We read every email and reply within 1–2 business days.
© 2026 MyCookingCalendar. All rights reserved.